Main menu
You are here
Making an axe handle
I had two axes in need of a handle and a small birch trunk to begin
with. At least over here the rule goes: back of the handle towards the
bark. Never towards the center, and never getting the center on the
finished handle. You also should always find some sort of natural
croock in the wood. As you can see my trunk had a shallow s-curve in
it, suitable for two handles.

As a small note, the trunk shown is almost below the minimum size, you
should start with 25+ cm trunk, but these were small workshop axes not
intended for heavy hitting.
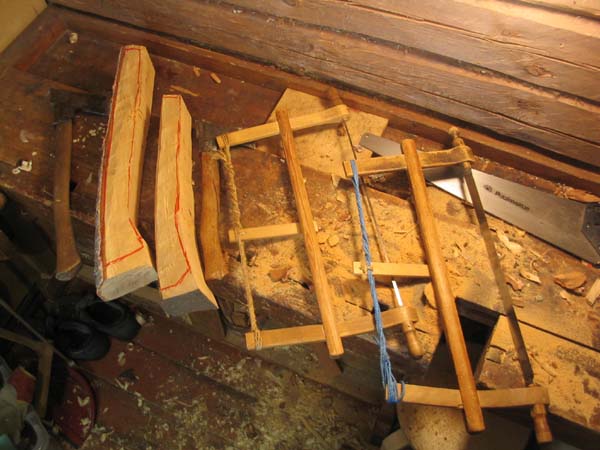
The trunk was already chopped flat with an axe, the rest of it came
with bow saws. Ohyes, they look crude, but one of these days I'll do
something about it. Talk about "user tools", these are users if anything.
By the way, never take the blank from the end of the trunk as there are
always cracks over there. Much more than in a plank, as a trunk is
dried with the bark on and the ends crack much further.
Of course you could make the handle from a plank as well, but it's just not the right way.
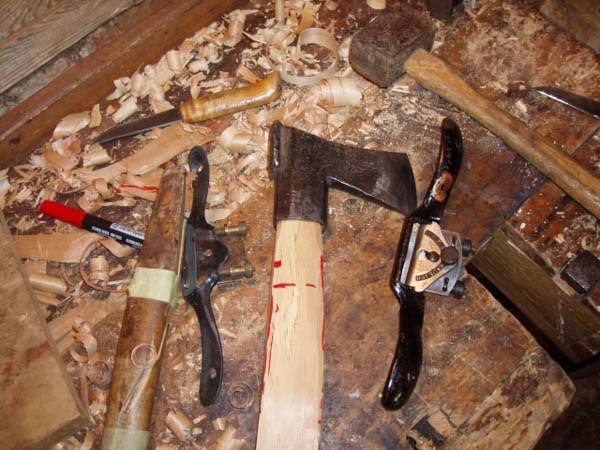

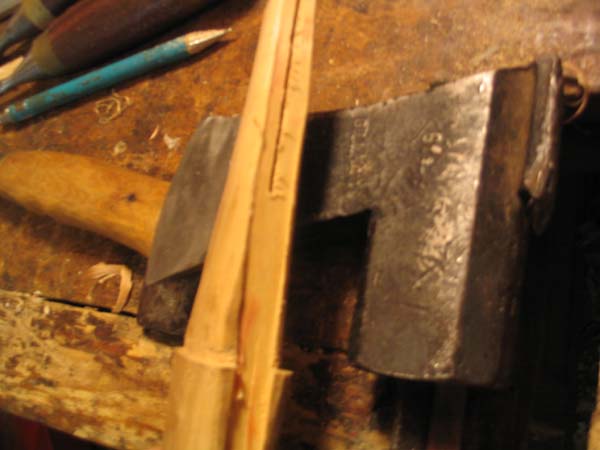
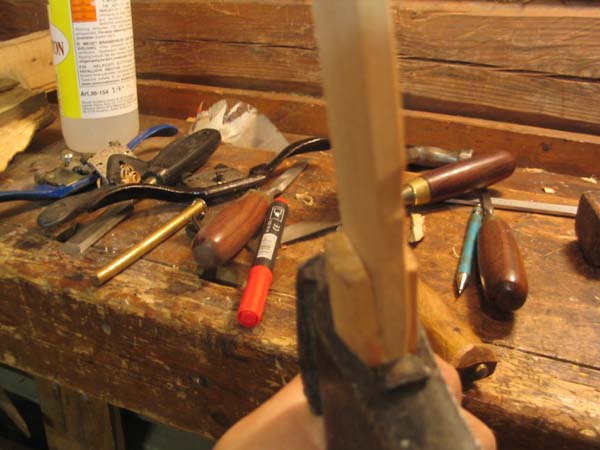
Fitting the end is just the same as on a hammer. I smeared some soot to
the "eye" of the axe to be able to see the high spots on the handle.
As you saw, fitting of the handle was done with only preliminary form
of the handle showing. Getting the axe head on just right is delicate
business and if you get it a bit wrong you can still adjust the angle
or twist a wee bit if the handle isn't completely finished at this
stage.
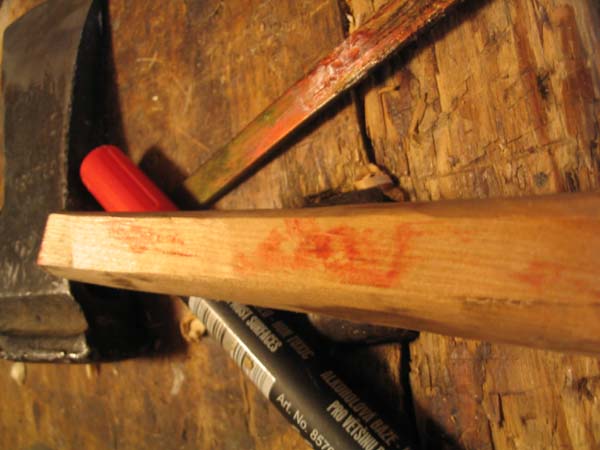
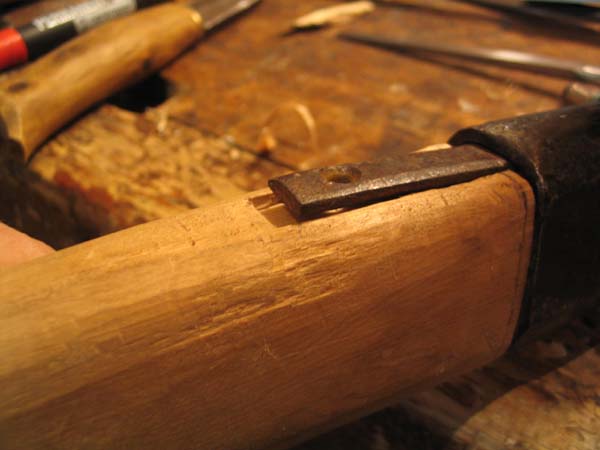
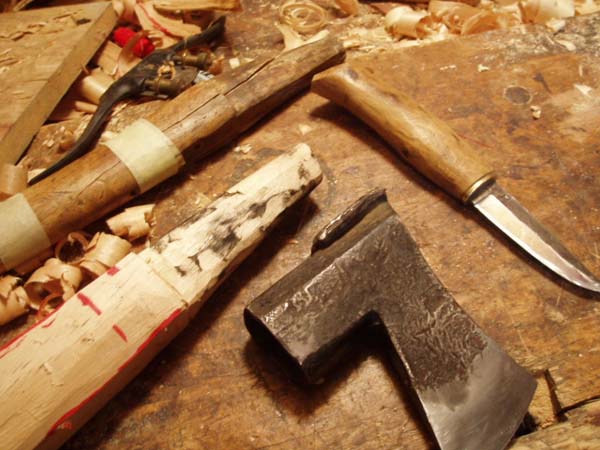
Unlike almost all Finnish axes, this one was fitted with two hooks
keeping the head on place. They were fitted just as fitting the axe
head, with colour. Only that I used red felt-tip pen to colour the
hooks, soot would have dirtied the whole handle.
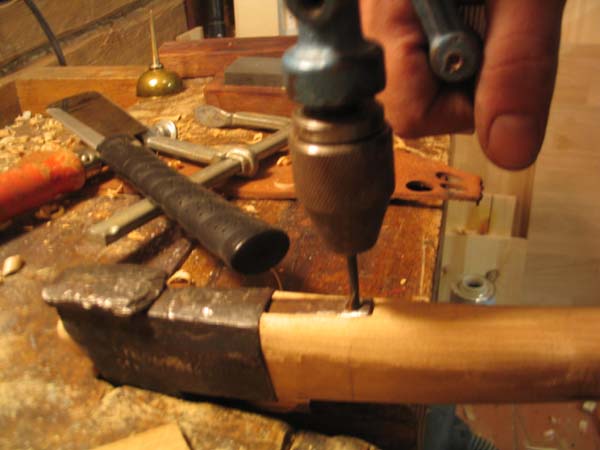
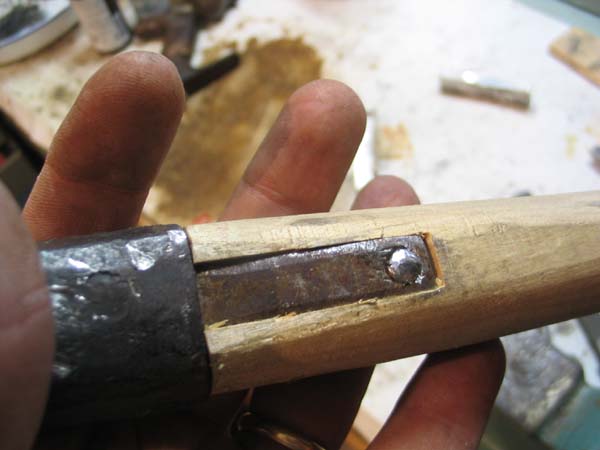
Wedging is just the same as on a hammer head, here was just the addition of rivetting the hooks on.
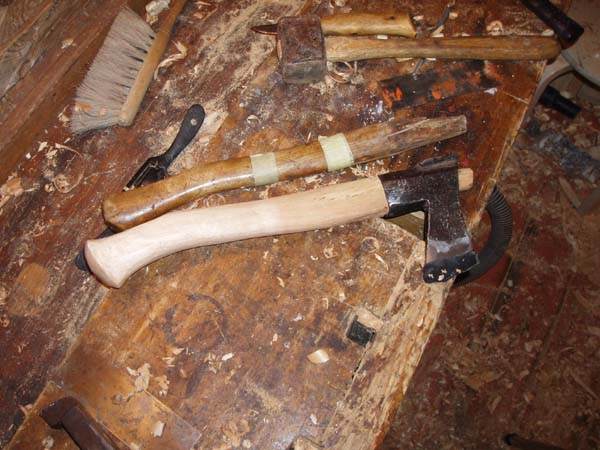
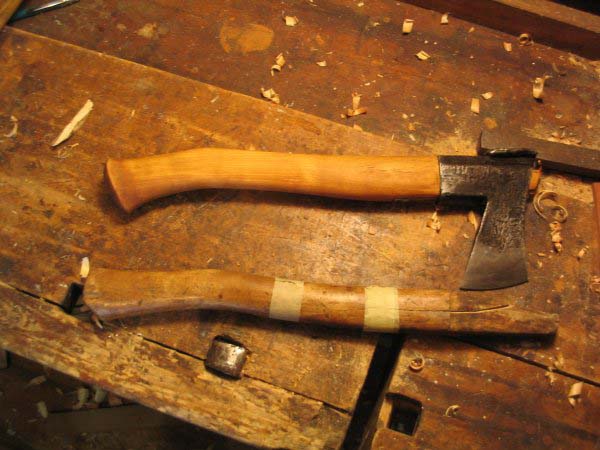
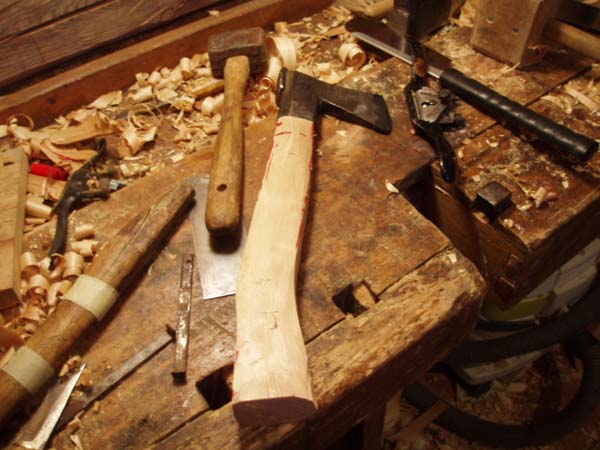
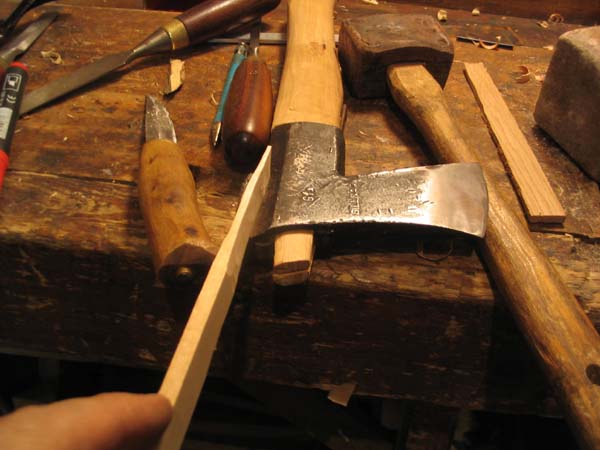
On the first picture there is the old handle and un-finished new one.
As you notice, I am a bit shy on making the final cuts on the blank, so
there is at least 3-5 mm extra on every side. On the second, finished
picture you can see the handle finished and tarred.
An axe is practically the second most important tool on Finnish
woodworking tradition, straight after the puukko (knife). A good axe is
kept just as sharp as a knife. On the countryside a man would have
built his own house from logs till the 1930's with just an axe and a
saw. Even the delicate joints on corners were mainly done with just an
axe. No framing chisels, no slicks, no nothing. We are pretty primitive
people anyway.
To return to the issue of "which side up" or what grain direction to
use, there are some rules on using the wood that are almost genetic
around here. The skis are always done with the bottom of the ski
towards the bark and you ski with top end of the tree back. When
putting a plank to the facade of a house it's always "inside out and
topside down", heartwood out and top down. Making an axe handle with
the back of the handle from the center of the tree
would really feel
like walking with your shoes on wrong feet. I can not thell why it's
that way but I just can't twist my mind enough to do it the wrong way.
This is just my intuitive guess why: Sapwood is more elastic than
heartwood. Back side of the handle is pressure side and the more
elastic sapwood will compress a bit more when hitting than heartwood
would if it was on the backside. This gives a bit of flex to the handle
to prevent it "kicking back" when you use the axe for splitting or
other heavy hitting. Factory handles do this a lot as the grain
orientation is whatever the machine produced.
Also, if you put the sapwood on the tension side (front of the
handle) and the rigid heartwood on back youl have too much tension on
the sapwood. As wood stands pressure very well but doen't like tension,
you'll have a handle that might be prone to splitting on the front side
if you do it backwards.
So getting the grain dierction right you'll get both a handle that's "nice to your hands" and not too prone of splitting.
Pekka